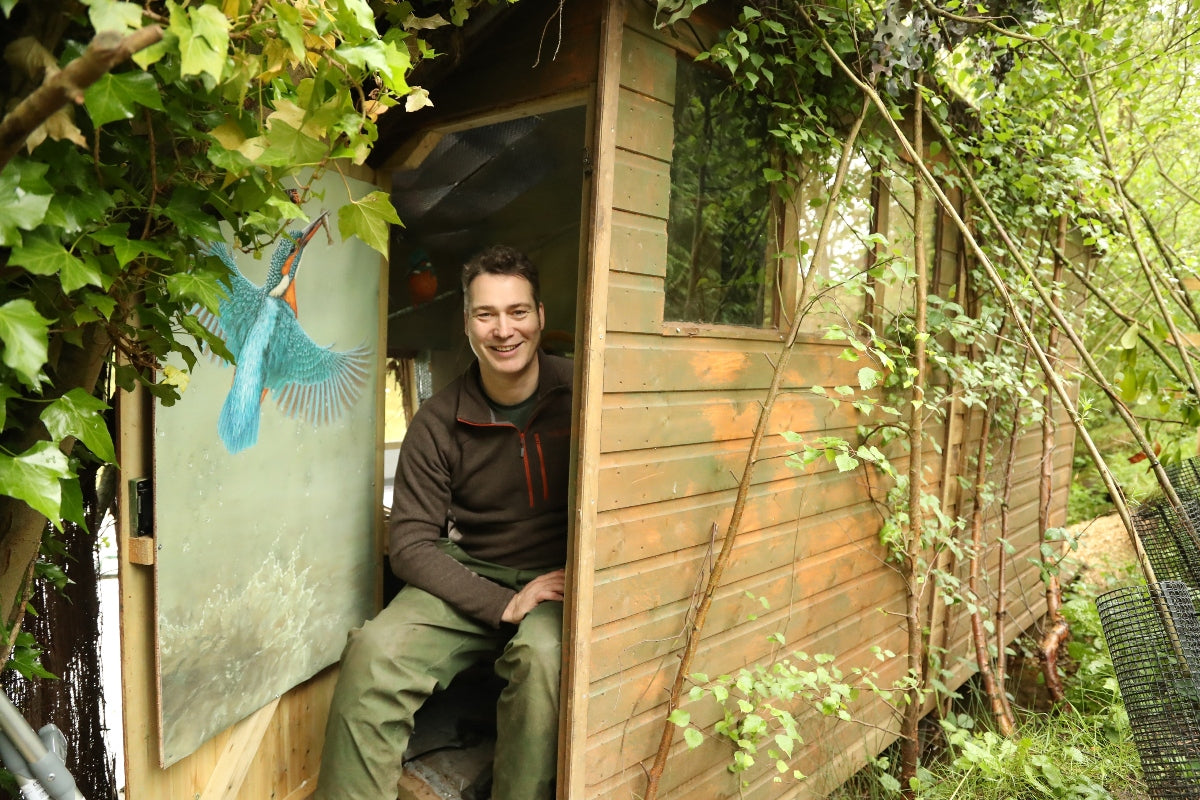
I replaced a waterside bank with a garden shed containing a hide and an artificial nest chamber so that I could watch kingfishers inside their underground nest. The entire project took a month and led to some incredible kingfisher studies. Click here to read more about these. I installed my hide in situ in February, long before the breeding season. Here's how I did it.

Step One: Replicating the design of a Kingfisher nesting chamber
Kingfishers dig a long sloping tunnel into steep river banks with their long beaks and then excavate a globe-shaped chamber at its end where the female lays her egg. The tunnel is sloped so that when the nest becomes soiled, the waste can flow out. I began by making a mould from a papier-mache balloon and a 5cm drainpipe to replicate the chamber and tunnel. I placed these inside a one-metre nesting box, angling the drainpipe so that it sloped in the same way a natural kingfisher tunnel would. My mould was made from a mixture of cement, sand, peat, PVA glue and fine tree roots to make it look as natural as possible.
 Papier mache balloons drying: a nest chamber will be moulded around one
 Balloon and piping inside the nest chamber
Step Two: Converting a garden shed into a hide and nest box
I altered the garden shed so that one wall sloped outwards to be wider at the top than the bottom and fixed a wire mesh, curved outwards, to replicate the natural overhang of a riverbank. This was to prevent predators like stoats, rats or mink from being able to clamber up into the nest. I then took the entire shed apart and coated each wall with the same mixture of peat, tree roots, mud, glue and cement so that the finished structure would blend in with its surroundings.
 The shed walls were altered to prevent predators from climbing up. At the top a fine mesh curves outwards to replicate the natural overhang of a riverbank
 Waiting for the mud coating to dry on the sides of the shed.
Step Three: Partitioning the interior
I then made three separate rooms on the inside of the shed. One for myself to sit and photograph the action from, one for the nesting chamber, and one for my CCTV equipment so that the cameras could keep rolling whilst I was away.

Step Four: Placing the hide and nest chamber in situ
It took three days to rebuild the hide on site. Then I covered the roof in old turf.


Read More:
The studies I made from this hide led to this new original painting:
https://www.robertefuller.com/this-painting-was-inspired-by-filming-kingfishers-underground/
And photographs I took of kingfishers courting from this hide led to a new collection of paintings. See them here:
https://www.robertefuller.com/my-collection-of-kingfisher-paintings/
Read about the kingfisher behaviour I discovered whilst watching kingfishers inside the artificial nesting chamber and see the photographs here:
https://www.robertefuller.com/when-kingfishers-disappear-underground-kingfisher-art-study/
Find out why these beautiful birds need our help:
https://www.robertefuller.com/5-challenges-kingfishers-face-how-to-help-them/


3 comentarios
[…] How I Built an Artifical Bank to Film Kingfishers Underground | Kingfisher Art Studies […]
[…] a kingfisher in the wild. I built an entire kingfisher bank so that I could watch them up close. Click here to read about what I discovered. If you simply want to be sure of seeing one next time you are out walking, here are a few […]
[…] Click here to read more about constructing the hide & artificial nest […]